Physics In Unity, Why You Should Build Your Own, and How!
This post was originally a talk at the Atlanta Developers' Conference in 2023 and has a companion Unity project with source code you can get here.
Any physics system can seem scary when you don’t understand it. But, once you break it down into its core components, it’s just like cooking in the kitchen! So throw on your apron and let’s take a look at Unity’s physics system, as well as how you can get started building your own.
Unity’s Physics
Starting off with Unity’s built-in Physics system, we can quickly see it does A LOT. Most of it is automatic and some of it we don’t even have to tinker with to get something working. This can be great for simple simulations where we don’t really need to know what’s going on under the hood.
But once we start taking a peek into the inner workings, it can get a little messy. For example, did you know there are TWO different physics systems? 3D physics is handled by a “Nvidia PhysX engine integration”, and then 2D physics uses a “Box2D engine integration”. I’m sure there is some good reason to have it done this way, but that’s outside the scope of this post today.

So what are the built in systems good for? Well they just “work”. Slap on a rigidbody and collider component and watch things fly! All that fancy collision data is stored somewhere and you can use it when/if ya need it.
If you don’t already know, Raycasts are great too! Think of them like a little ray gun that shoots a Ray and then sends us back info about what it hit (or didn’t hit). If we had raycasts in real life, self-driving cars would be a lot easier!
Physics Ingredients
But what if we are building something where we do need full control? You might feel scared to build your own physics when it seems so complex. But don’t worry, we don’t have to be NASA! When flying to the moon, those scientists had to account for every little factor and variable. When I wanna hit a golf ball in a game, I only need to care about the things I actually care about.
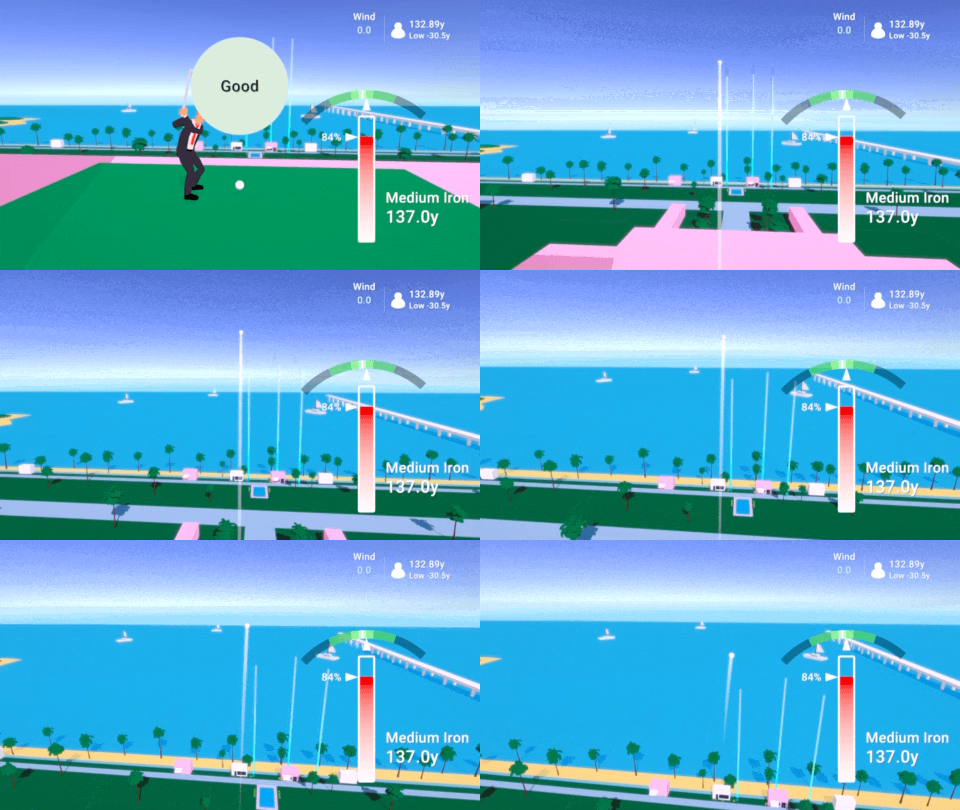
So let’s break it down in a simple example:
- Simple Force - This will Move our object in a Direction at a Speed
- Gravity - This will Pull our object towards a certain Direction with Force
- Drag - This will Slow Down our Force over time
- Wind - An external Force that Pushes our object
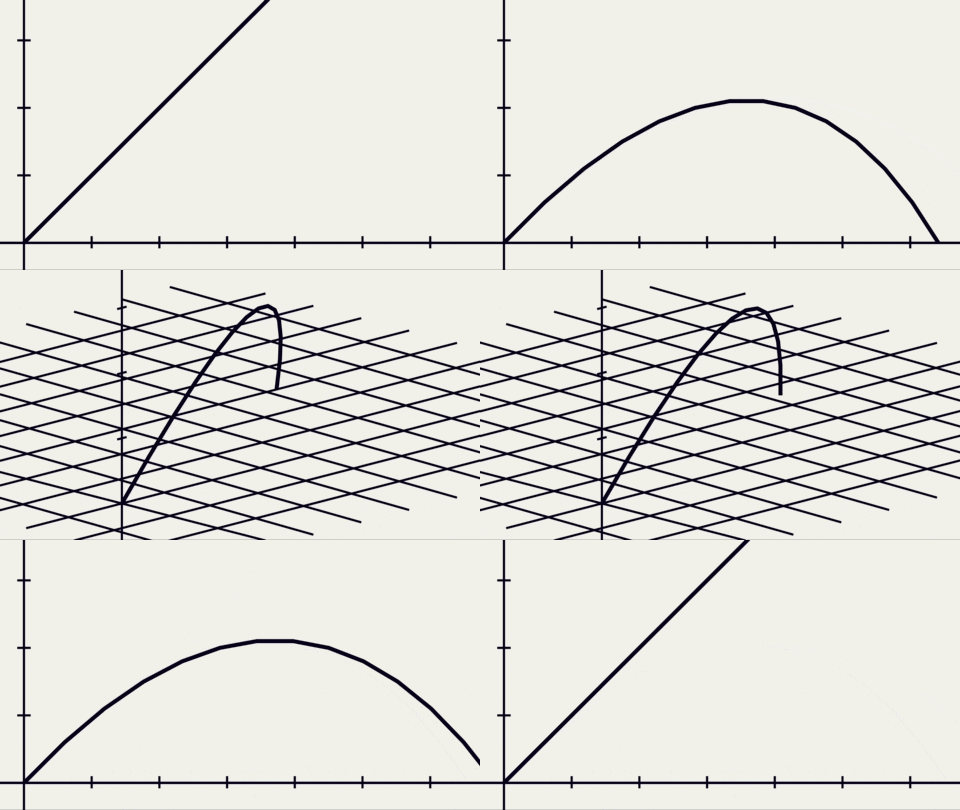
Now just add those up! Simple Force + Gravity + Drag + Wind. You may end up calculating it a different way, but the idea is to break the concepts down as much as you can so it’s less scary. Back to our cooking metaphor, this is like getting the ingredients and stirring them together in your pot.
But, this example only accounts for the three Dimensions. Yes there is a fourth Dimension– and it’s TIME! In games we need to think in Frames (i.e. 60 Frames per Second). Ask yourself: “How many frames will it take to do XYZ?”, and so on. And don’t worry, we can always convert into Seconds and vice versa if we really need to, and still have a somewhat stable frame rate.
Within a single frame in Unity a LOT happens. Knowing the order of things YOU are doing and what Unity is doing is key to keeping your physics and other code free of bugs. Speaking of stable frame rates, FixedUpdate is your friend when executing your physics code. FixedUpdate can happen MORE or LESS than Update as it’s frame rate dependent. But, more or less it will happen at a stable time interval which is great when trying to do physics updates.
Creating Your Own Physics
So, now that you understand all four Dimensions and have your ingredients ready, let’s get our water boiling with some actual examples!

A little bit of code makes that fancy ball fly so good! Let’s break down what’s happening here.
using System.Collections;
using System.Collections.Generic;
using UnityEngine;

public class BallHitter : MonoBehaviour
{
    public GameObject ball; // our ball we are hitting
    private Vector3 velocity; // will store both the direction and force

    public Vector3 angle = new(1, 1, 0); // stored as a vector, but could be an angle
    public float power = 12f; // how hard we will hit the ball

    public float gravity = -0.1f; // added to the velocity each frame
    public float drag = 0.005f; // multiplied to the velocity

    private bool wasHit;

    void Update()
    {
        if (Input.GetKeyDown(KeyCode.Space) && !wasHit)
        {
            HitBall();
        }
    }

    void FixedUpdate()
    {
        if (wasHit)
        {
            MoveBall();
            EffectVelocity();
        }
    }

    void HitBall()
    {
        wasHit = true;

        velocity = angle * power;
    }

    void MoveBall()
    {
        ball.transform.position += velocity * Time.deltaTime; //deltaTime should = FIXED delta time
    }

    void EffectVelocity()
    {
        velocity *= 1 - drag;
        velocity += gravity * Vector3.up;
    }

    void CheckCollision()
    {

    }
}
Notice how we have HitBall give the ball its first force. Then once it’s hit, we have FixedUpdate handle the actual movement and everything else that will affect the velocity each frame. Easier than Apple Pie! Now we don’t have the ball checking for the ground or any collision really, but maybe that can be some homework for you.
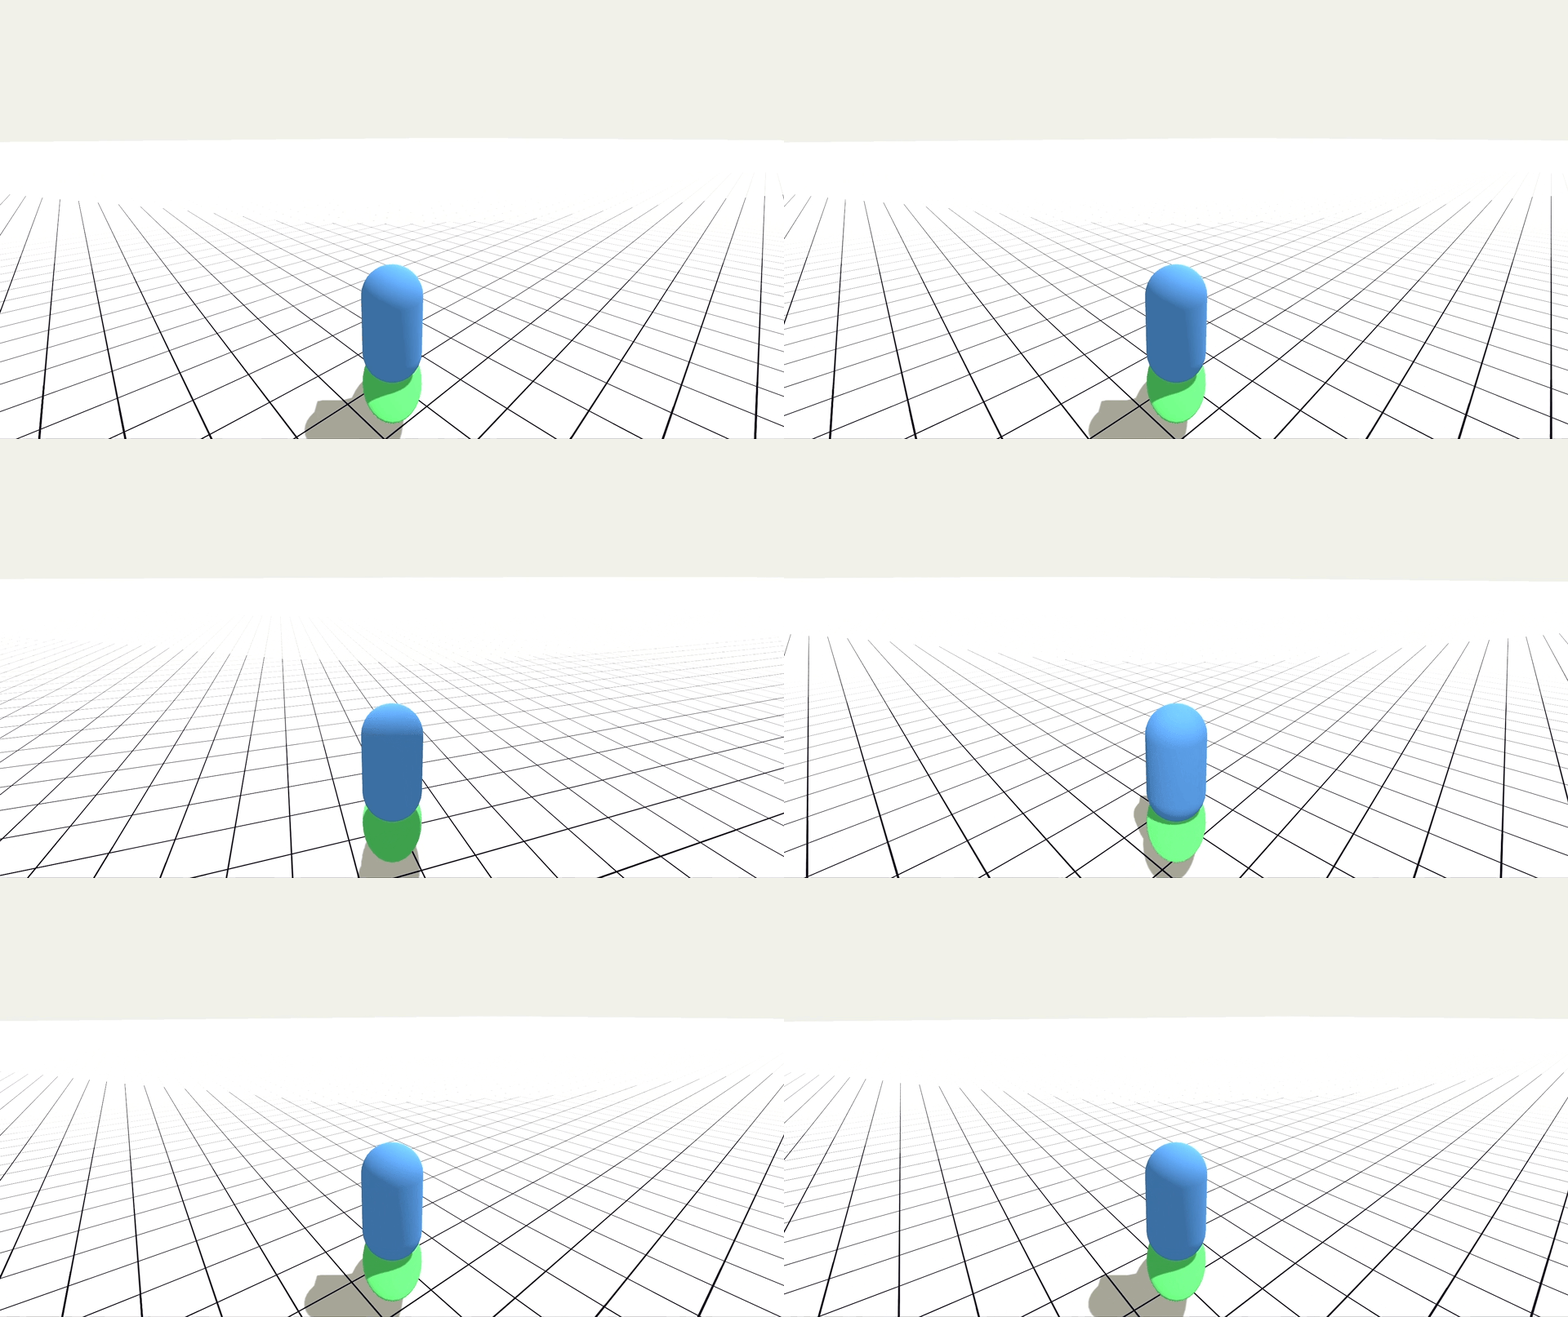
Getting a little fancier now, let’s make a cool Skater controller. We can even go up ramps and fly into the air!
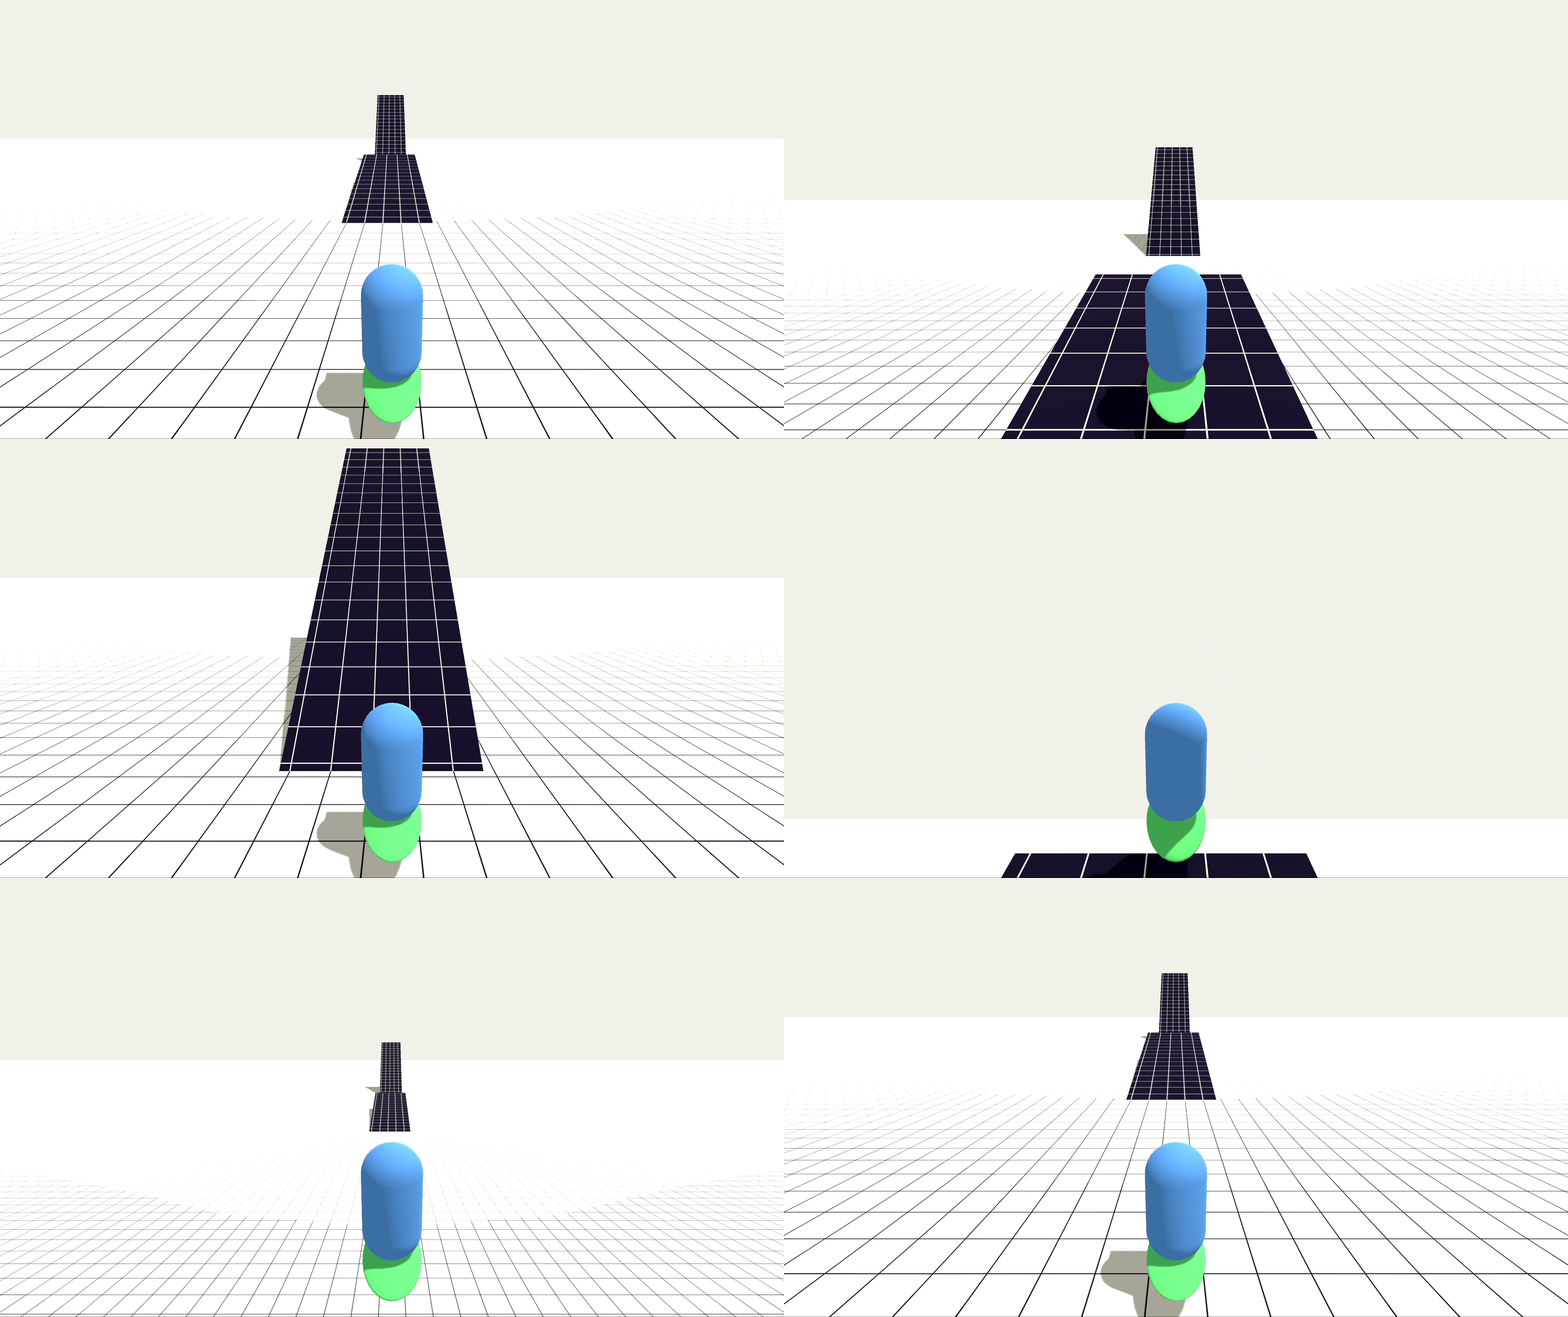
This is done with some of those Raycasts I mentioned earlier, and the Lift() code in the sample. By finding the Normal of the ground, we can rotate our character along it and get even more fancy!
But when things start getting more complex, we need to make sure we can check that our logic is making sense in the game world. We can use Debug.DrawRay() to show us in the scene view what rays are firing during our game logic.

We can even slow things down. You can see in the example that our character is getting rotated towards where they will be landing.
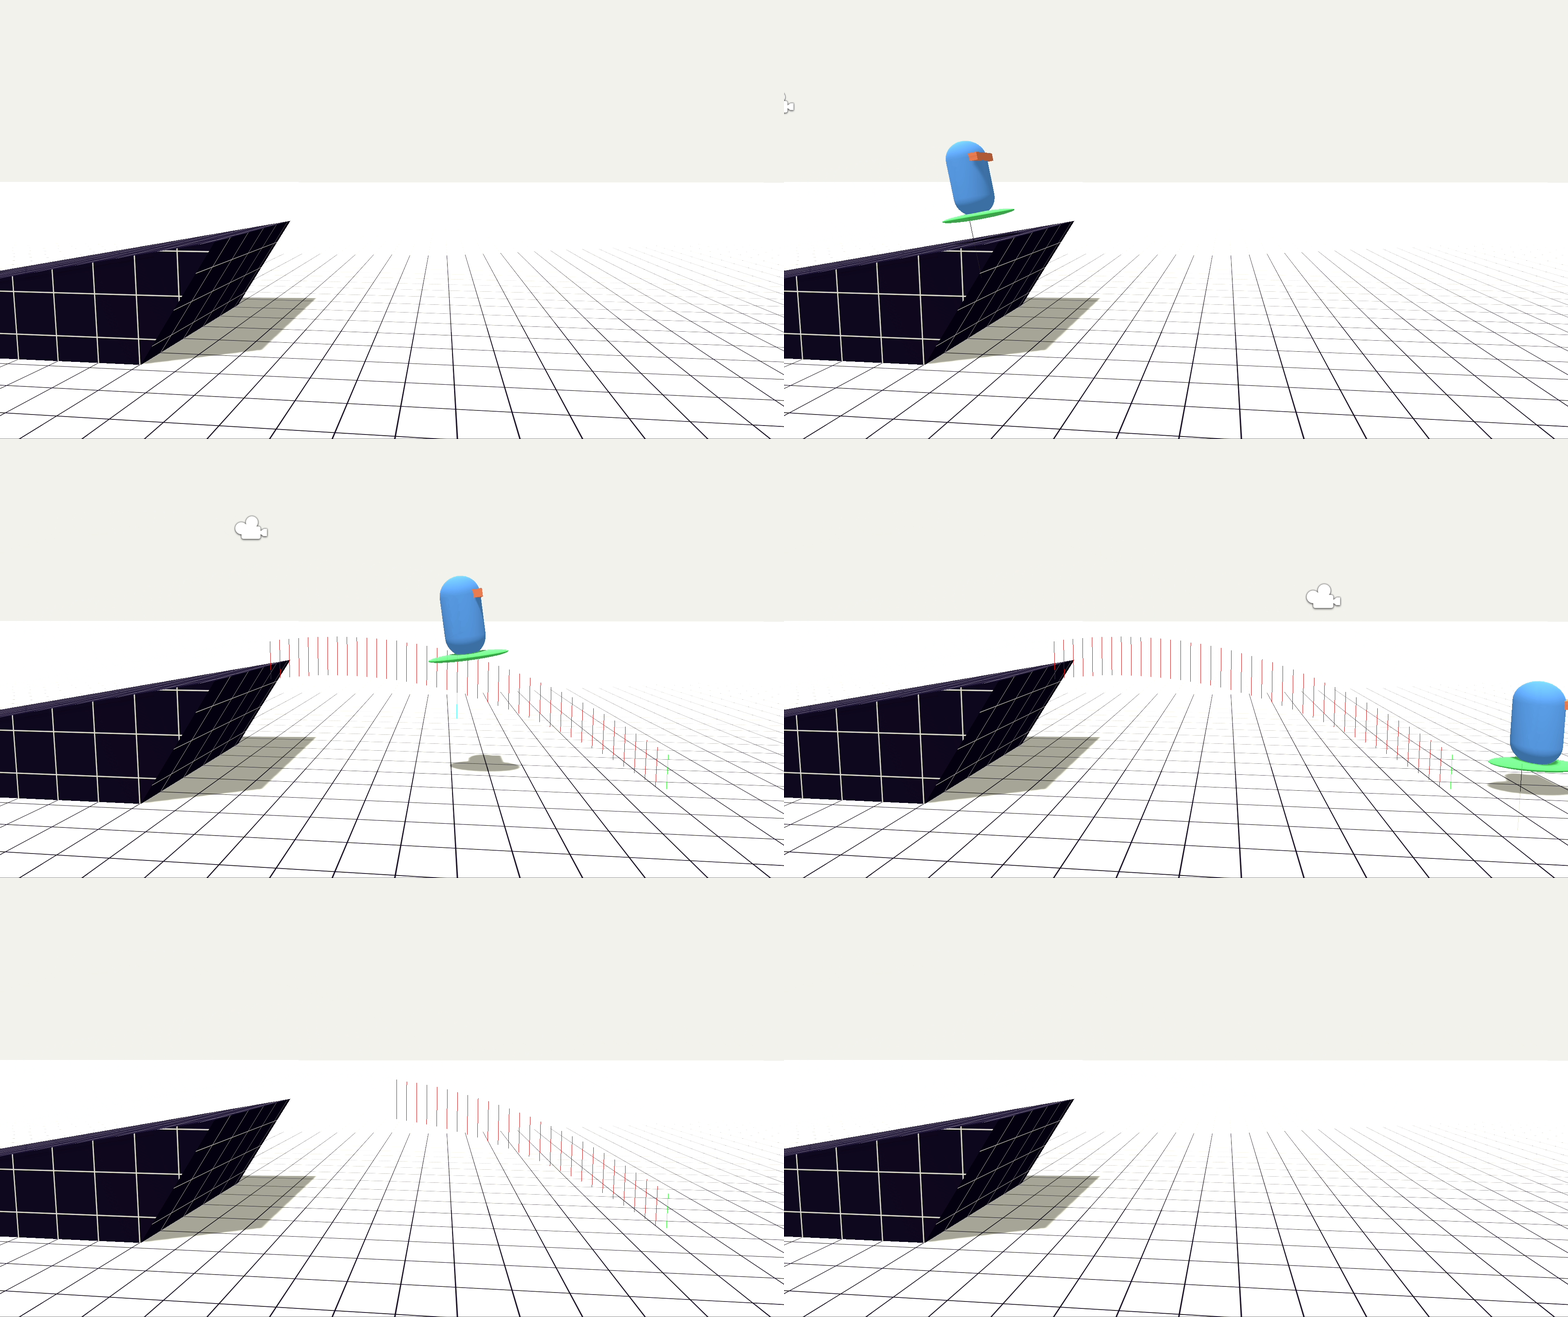
We can do this because well… WE CAN PREDICT THE FUTURE!
In this last example we will show you how, using a simple player-controlled Flight script and a heat seeking missile that’s locked onto our player!
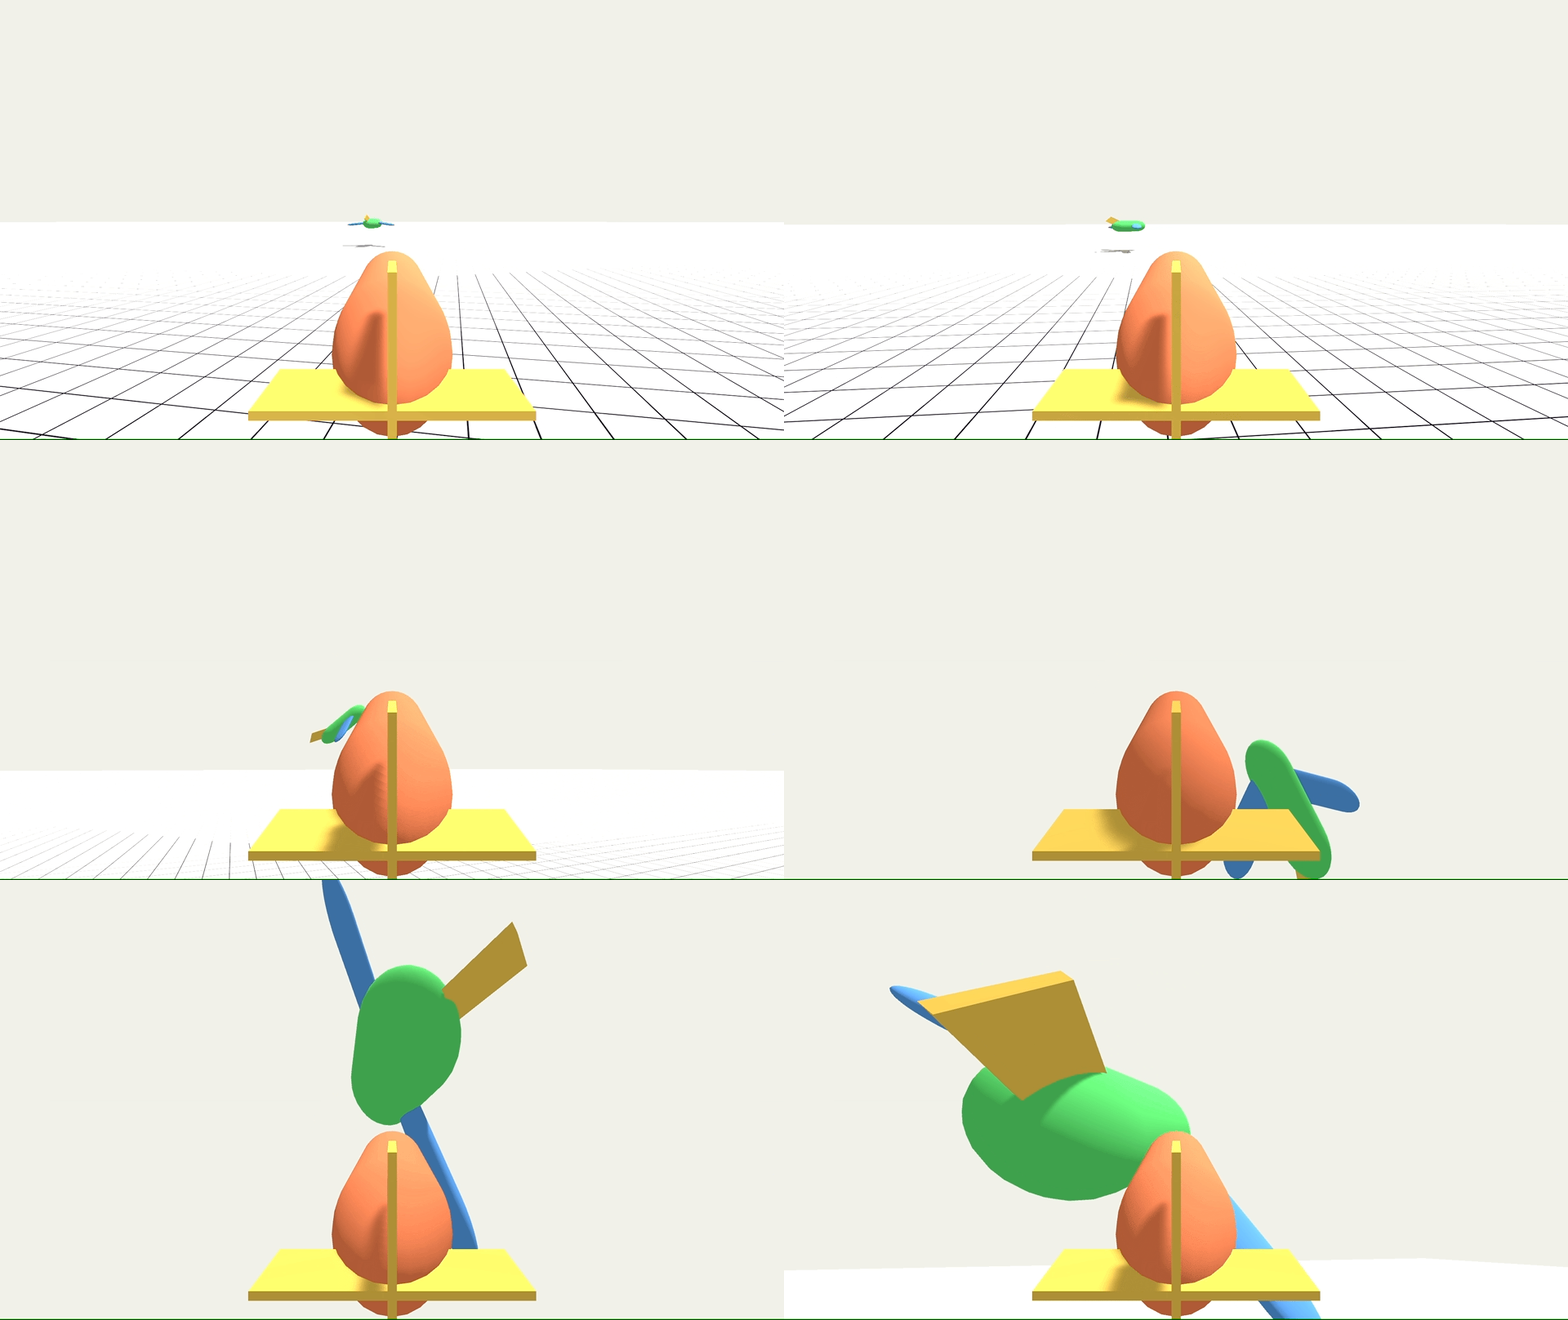
The missile is actually moving at the same speed as the player here. But it will still catch up to the player eventually because the missile gets to CHEAT! It’s not actually heat seeking, but is predicting where the player will be based on the player’s inputs.
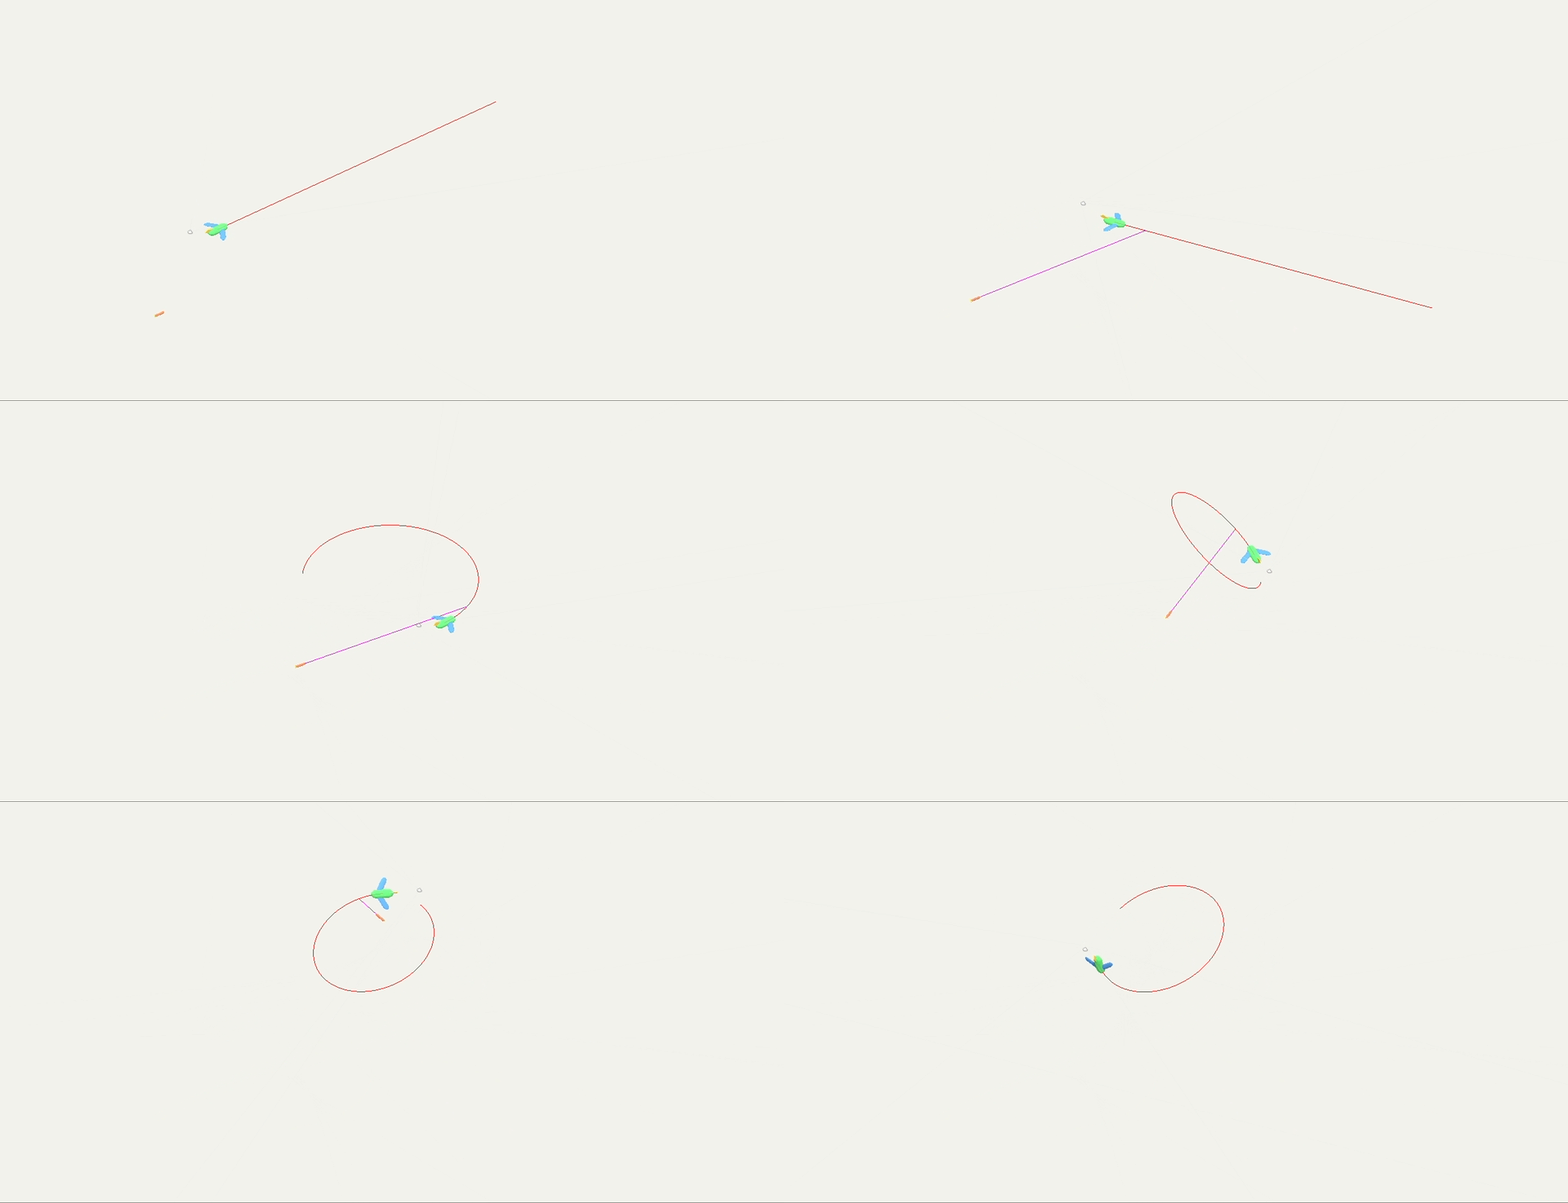
Just like when throwing someone a football, you throw the ball to where the player WILL BE in the future to make sure it connects. This can be great in games to make sure something always happens as it should.
Or, if it’s something an enemy is doing, you can scale back that prediction to be not so perfect and give the player a fighting chance. If you can make something that ALWAYS happens first, you can then make something that sometimes happens as much or as little as you want as a designer.
Feel free to play around in the source code of these examples here, and let me know if you expand upon any of these ideas in an actual game!
--- John
Explore more posts...